For one of the exercises, students viewed images of how architects create models for buildings, and explored examples of how different types of nets create forms.

Next, students chose a net to put together by tracing shapes or making their own.


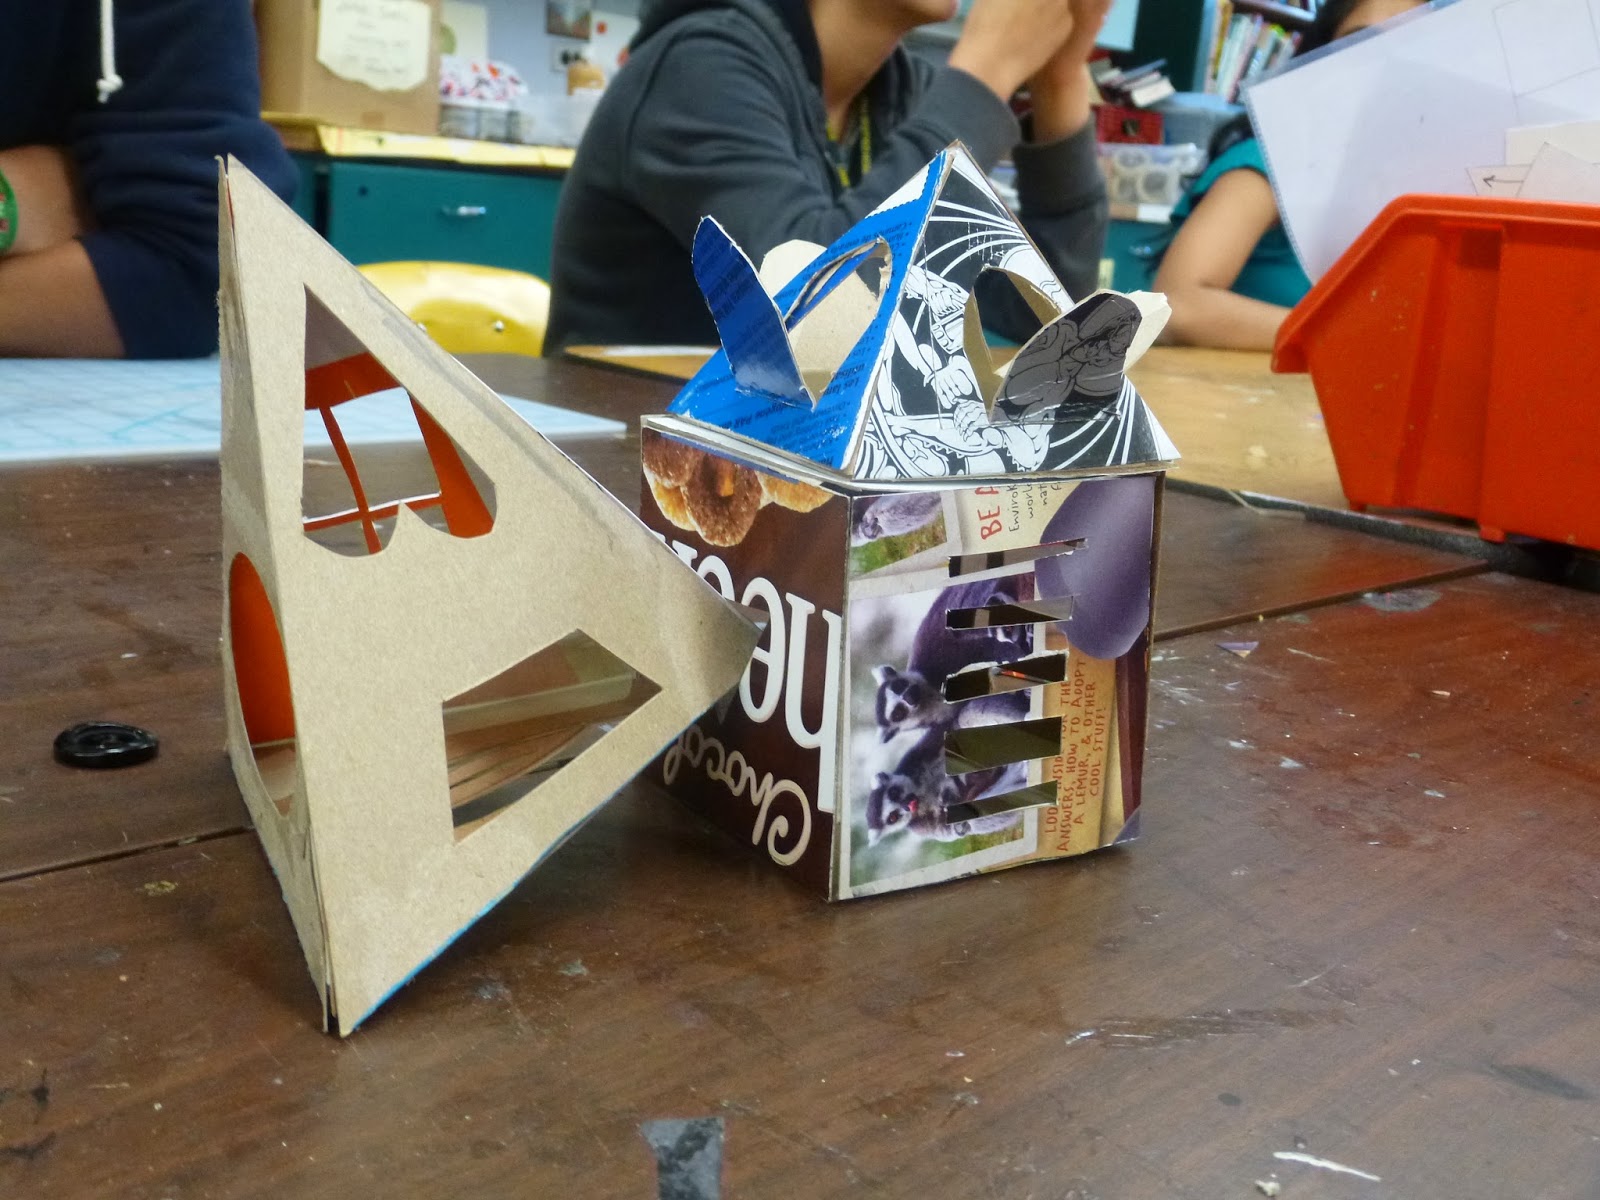
Next, students used tabs, tape and glue to connect their shapes and put their net close to together. Before putting it together for good, they used an X-Acto blade to cut negative space shapes and windows into their structure.

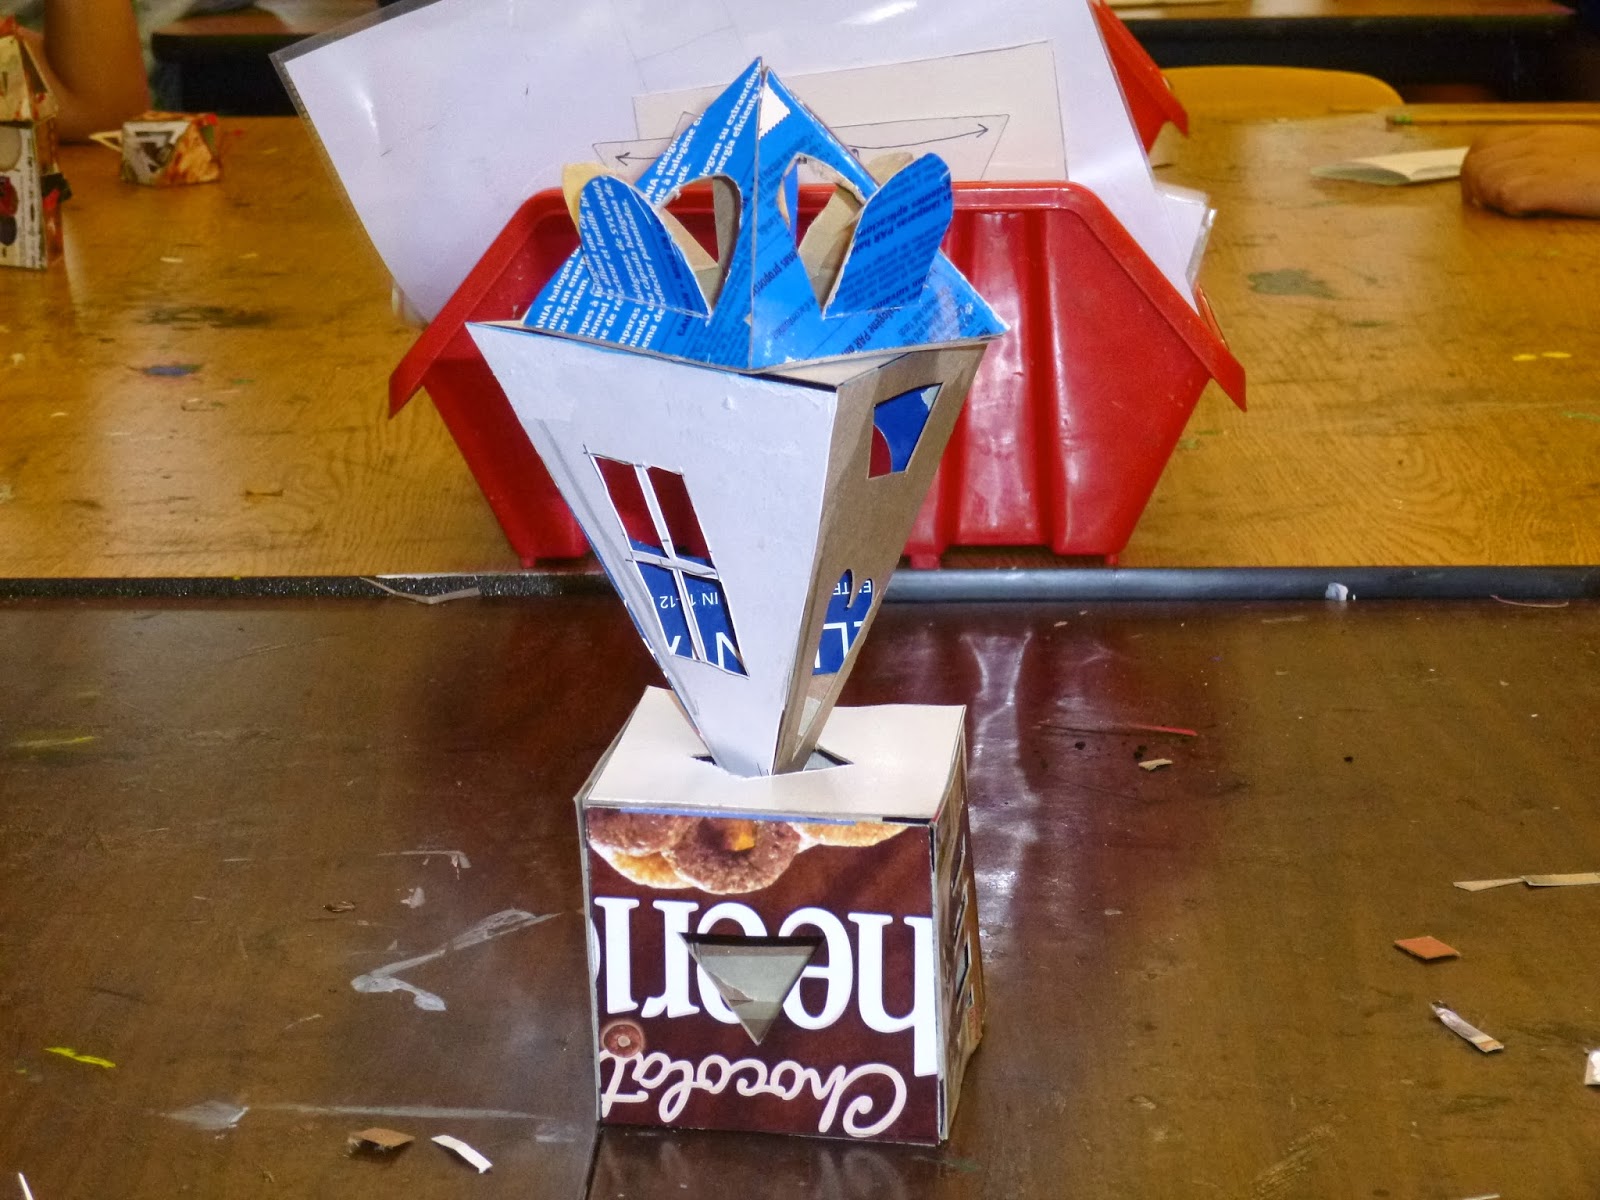
Next, students closed their forms all the way and had some fun combining their forms and taking photos of the possible combinations. In this way, new ideas for sculptures and buildings were found.


For another experiment, students learned about Jean Dubuffet and geometric and organic shapes. Students drew organic and geometric shapes and learned how to notch or slice and tab the shapes together. At the end of the day, each sculpture had to stand on its own without collapsing and without glue.
Note: these sculptures are best enjoyed by imagining they are humongous public sculptures made to play on, inside a sculpture park!


Finally, students engaged in a one-day experiment to see what kind of sculpture could be made from a single piece of paper. They intuitively tucked, curled, wove and perforated the paper to create spontaneous 3-D forms without any glue or tape.


During this week of exploration, students also completed a homework assignment to brainstorm ideas for representational and non-representational sculptures.


