This past year I barely posted on the blog. I started teaching two classes that were new to me, which made for an extremely busy year learning the ropes and coming up with curriculum.
I want to post some highlights from these classes from last school year before moving on to this school year.
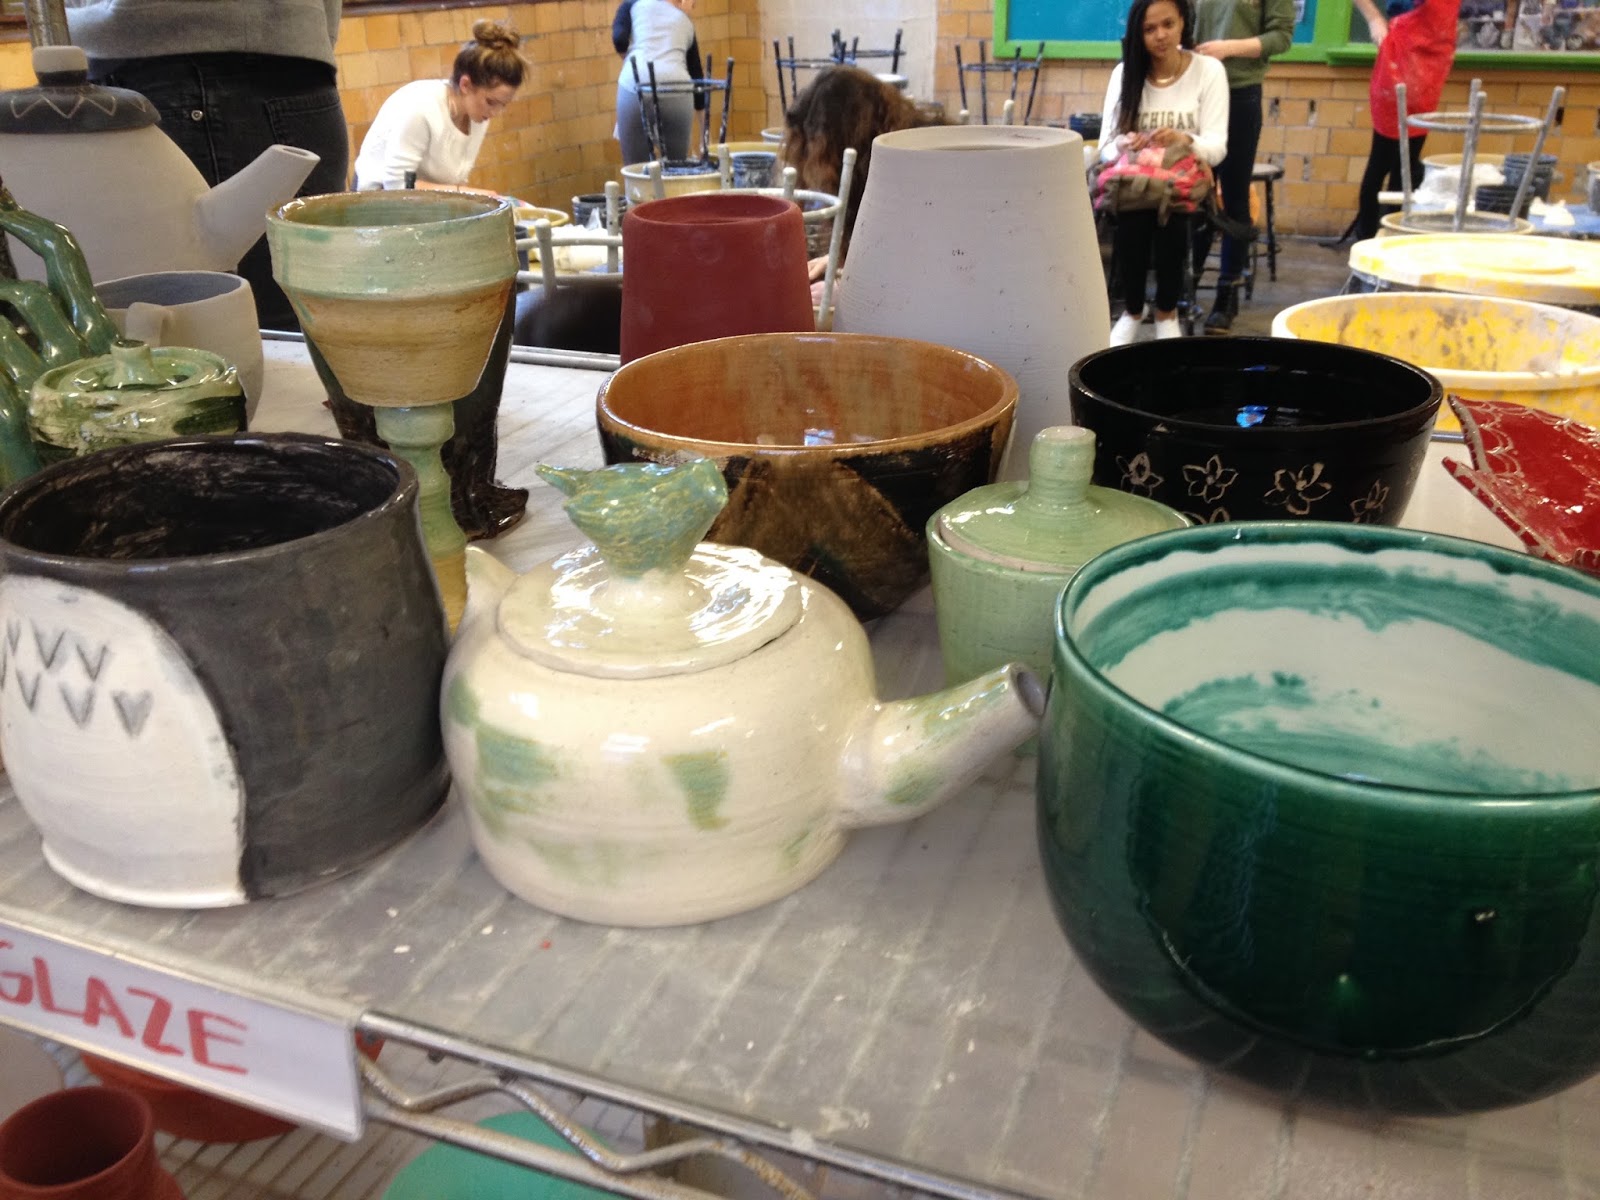
Here are some photos from the Wheel Throwing class at Lane Tech. Wheel Throwing is a ceramics class that focuses on functional pieces that students make on the potters' wheel. Students take this class as an elective and it mostly serves juniors and seniors.
 Any successes I have teaching Wheel Throwing I owe to Amy Moore who taught ceramics for over 15 years at Lane and has since started teaching in Evanston. She provided me with lots of resources and tips last year as part of the transition. Over those 15 years teaching at Lane she worked hard to build up the sculpture program and wrote grants that provided the school with 31 wheels for our students to use. We owe our sculpture program all to her.
 In the year-long Wheel Throwing curriculum, students begin by learning to center clay on the wheel and then learn how to throw the primary forms of cups, bowls, bottles, vases, lidded containers and platters. As students gain skill they continue personalizing their pottery and making artistic choices.


 |
| Cups by Isabel Blair |
 Students learned about surface decoration techniques with both glaze and underglaze over the course of the year. Below are examples of techniques using underglaze such as stenciling, painting, masking and sgraffito.

 |
| Bowls with detailed sgraffito designs by Rebecca Symonds |
 |
| surface design with textiles and masking by Mayra Leon |
One of the types of homework that students work on in Wheel Throwing is envisioning ideas for sculpture and pottery based on themes. Students sketch 4 ideas of their own and find 4 by other artists that fit themes such as "power", "urban" and "surprise".
Another type of homework that students engage in is taking notes on Youtube videos by other ceramicists so that their skills can improve and they can see how others throw on the wheel.
Students engaged in a vase project where they found a vase by another artist that they thought was beautiful and made it their own by trying to re-create aspects of the vase while adding their own twists.


 |
| lidded container by Gerald Pineda |
 |
| teapot by Jackie Cruz |
 |
| wall hanging by Mireya | | | | | | | | |
|
|
Another major project was students creating a large platter with intricate surface design or imagery. This project gave those students who like to paint and draw a wonderful "canvas" with which to express themselves.

 |
| Platter by Gerald Pineda |
As a final project, students created a set of objects that were unified and that reflected their personal style. Through this project, students were able to re-visit the forms they enjoyed making the most, noticing how their skills had improved, and creating objects with a detailed plan in mind.

 |
| Tea set by Rebecca Symonds |
 |
Place setting by Katherine, inspired by paintings by Kandisnky and Mondrian
 | | | | | | | | | | | | | | |
|
|
 |
| Cups by Yaneth Rojas |


